
TranscribeMe and Evernote have a robust integration in place allowing you to submit recordings for transcription directly through Evernote, while processing billing and transcription requirements through TranscribeMe.
This tutorial will guide you through the process of linking your Evernote and TranscribeMe accounts, through to submitting an order for transcription. If you have any questions about the process, please write us at support@transcribeme.com.
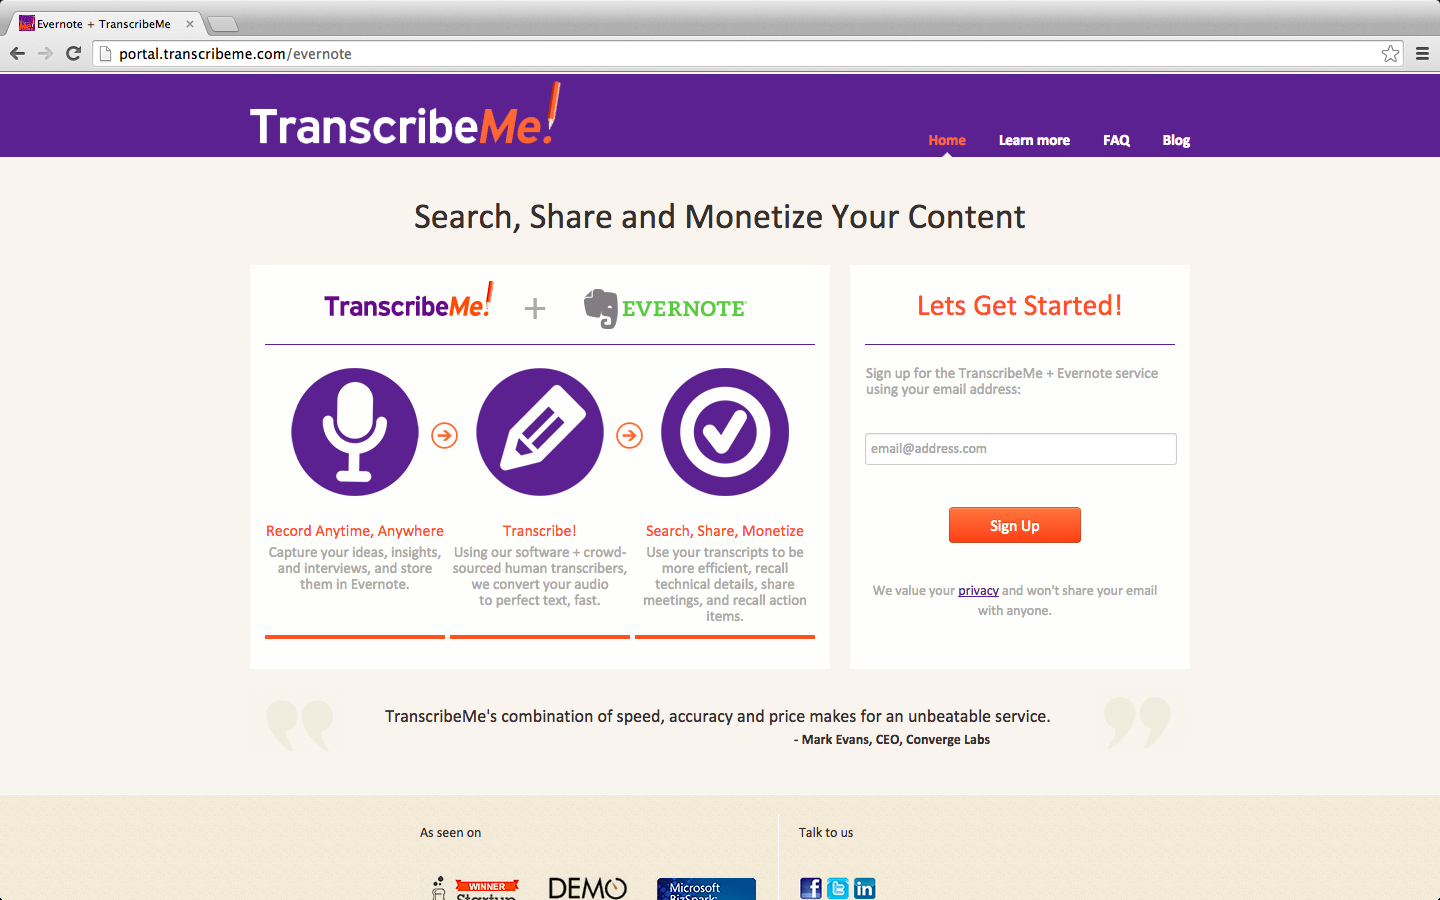
1. Visit the TranscribeMe and Evernote registration page here. Enter the email address you would like to use for TranscribeMe in the open field and click “Sign Up”. If you already have registered with TranscribeMe, use the same email address.
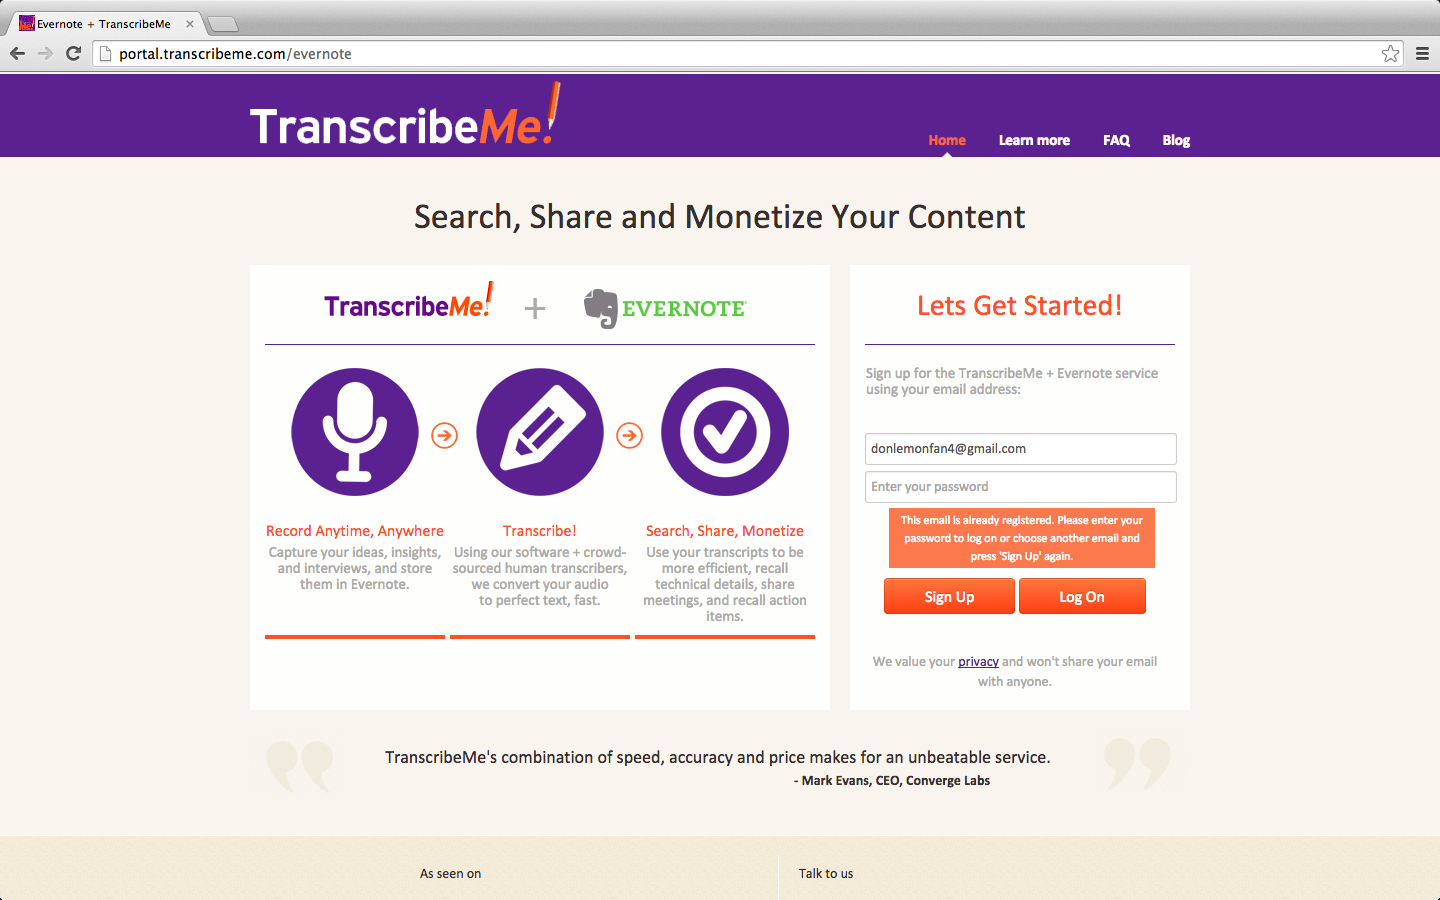
If this is your first time registering with TranscribeMe, enter in your desired password and click “Sign Up”. If you have already registered with TranscribeMe, enter the appropriate password and click “Log On”.
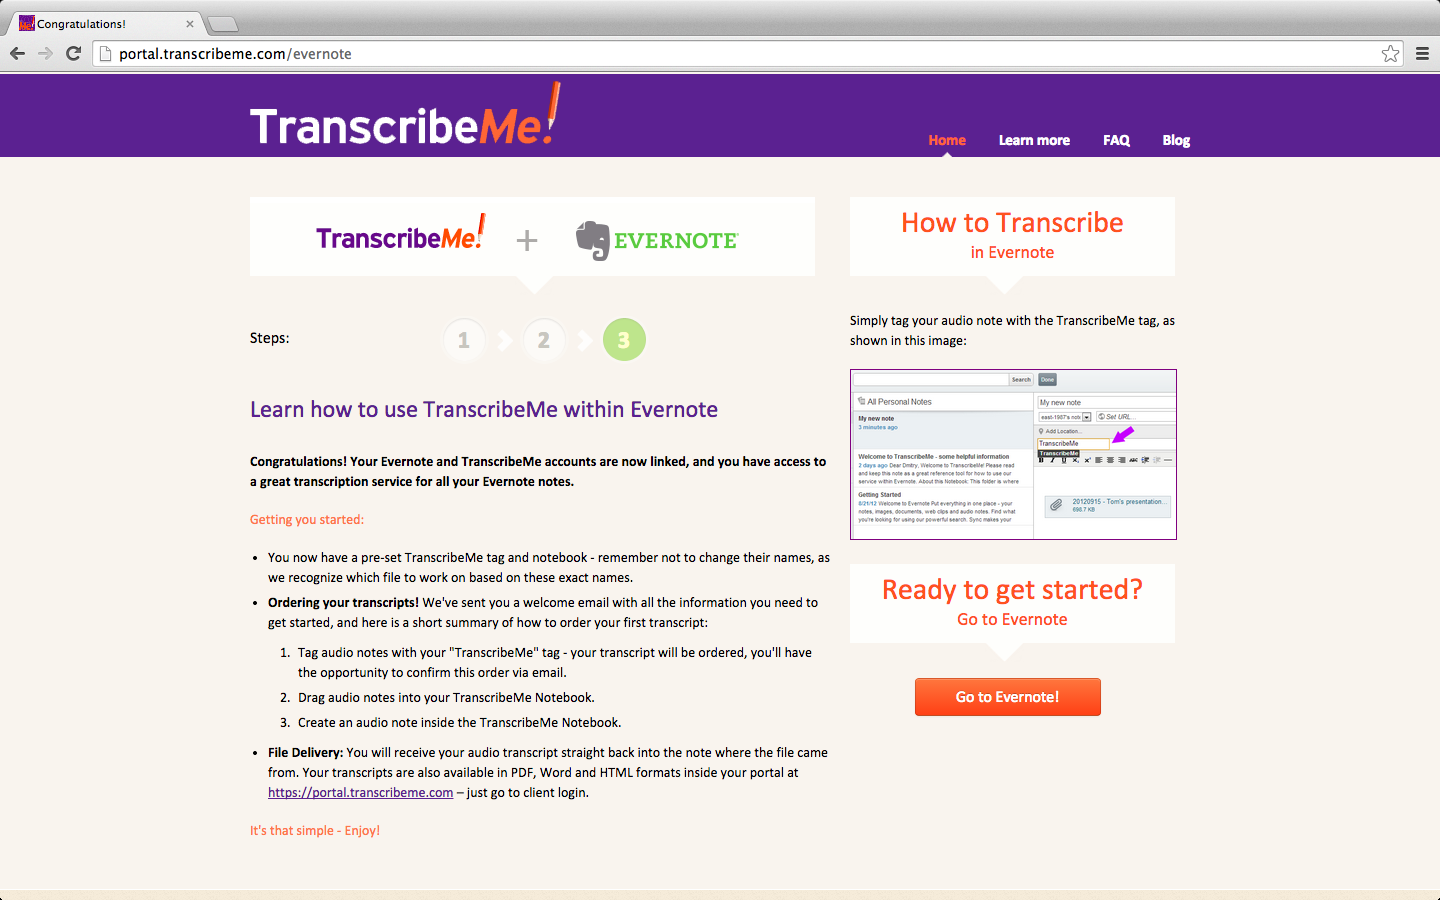
Once the page refreshes, click the orange “Go to Evernote!” button.
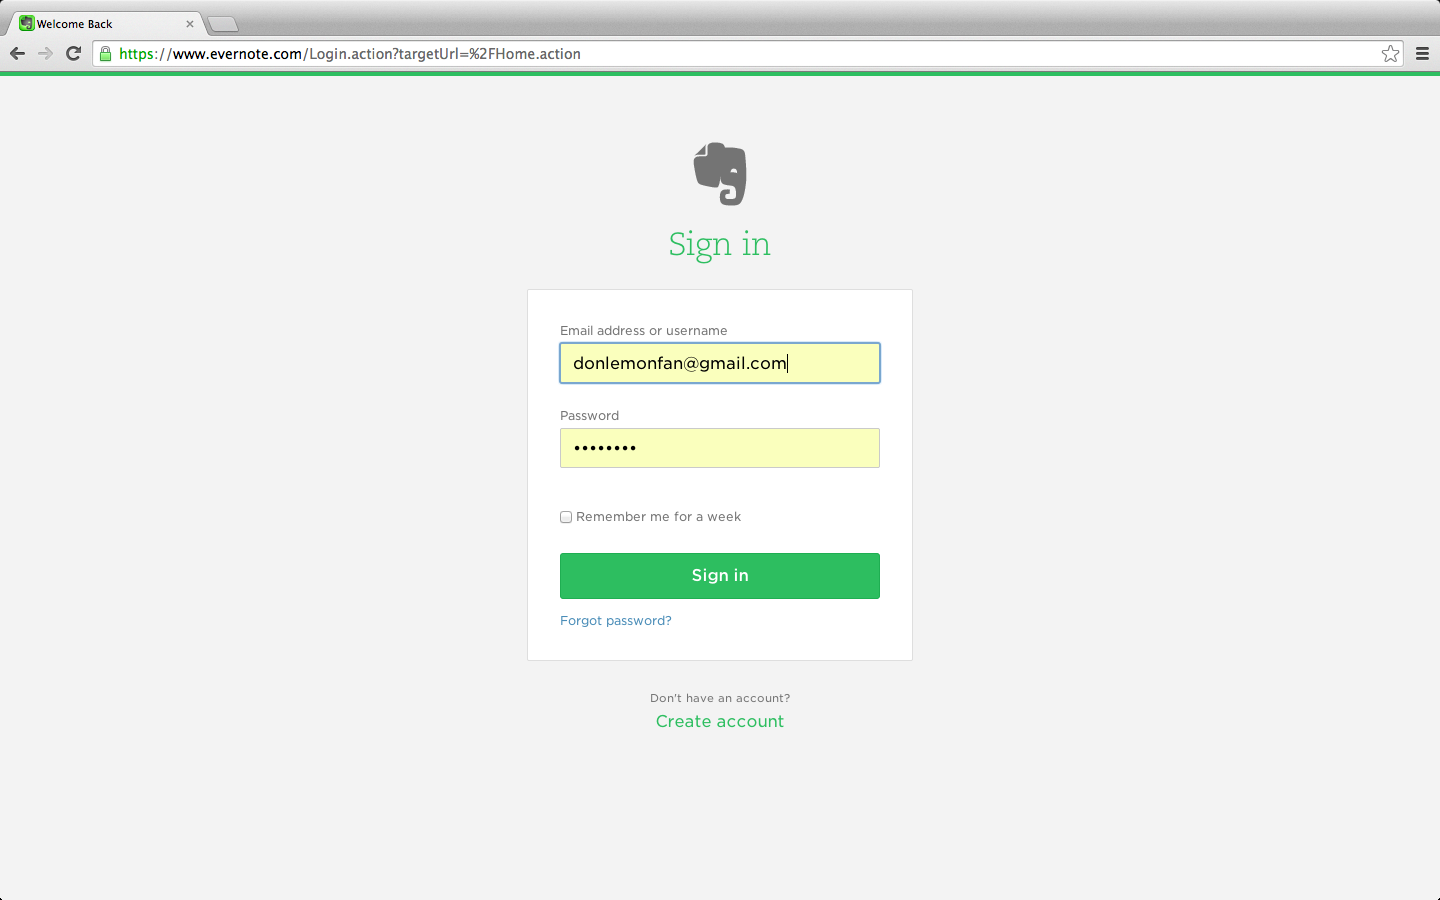
You will be taken to the Evernote sign-in page. Logging in to Evernote will link your accounts.
2. After TranscribeMe and Evernote are linked, order a transcript in Evernote by following one of three processes:
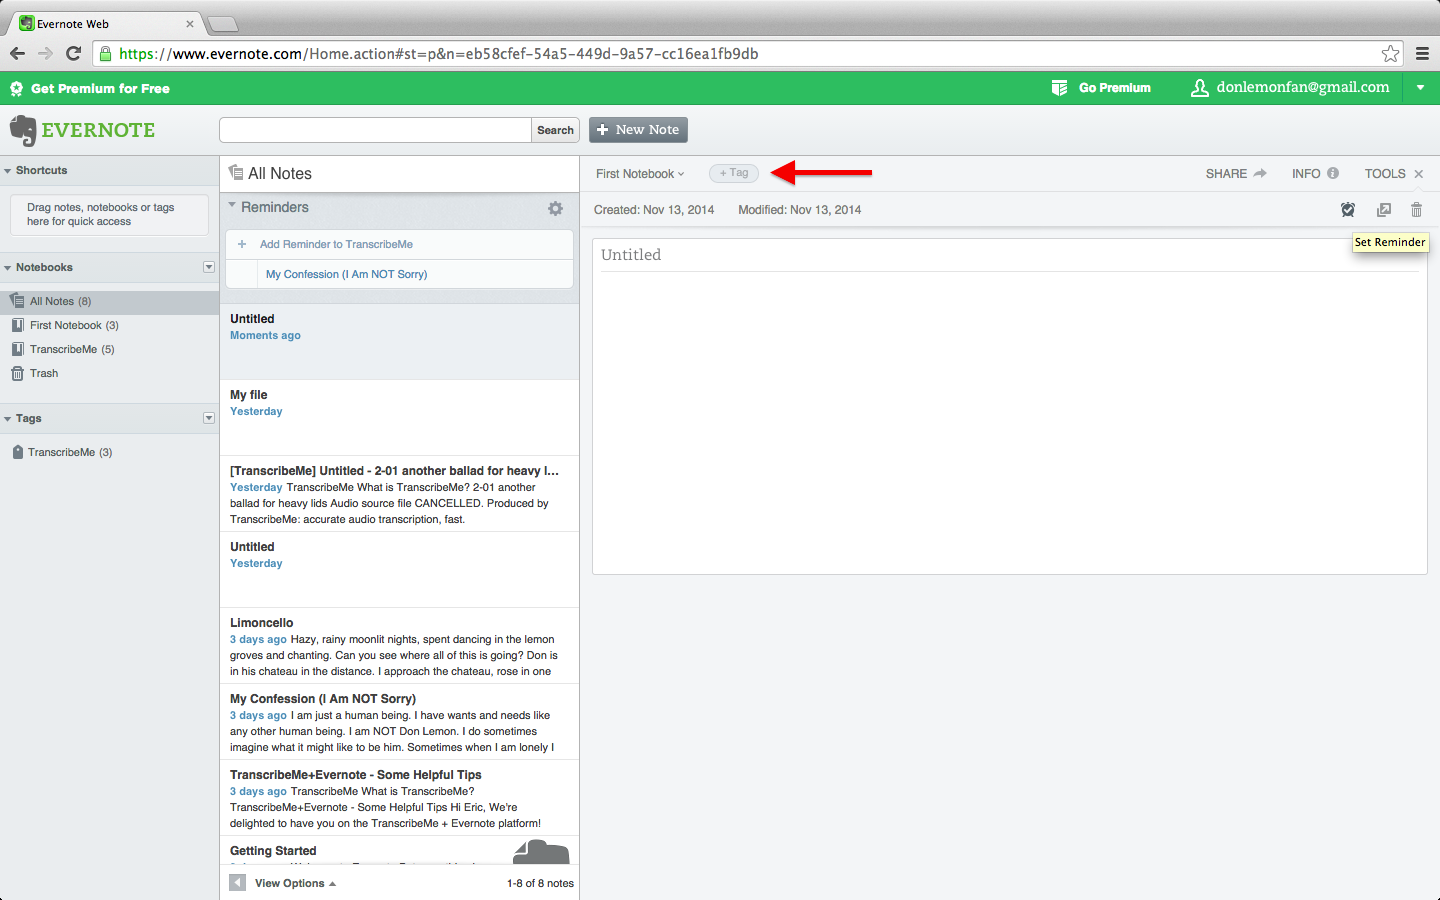
- Tagging your notes with the pre-set “TranscribeMe” tag in Evernote. To do this, first select the note you would like transcribed, then click the tag icon (see below), and write “TranscribeMe” in the open field that appears.
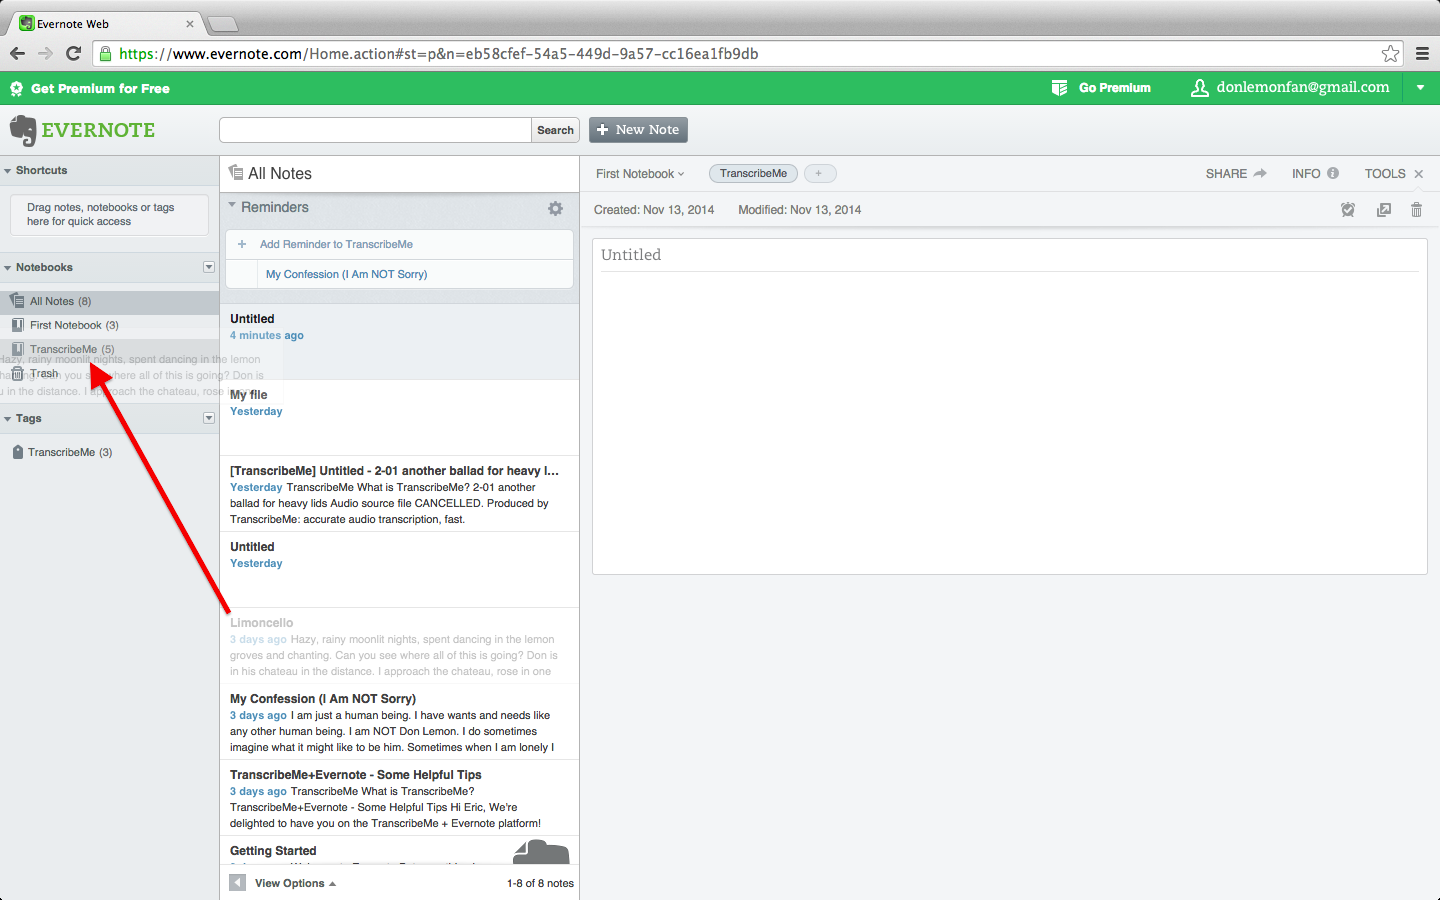
- Dragging your audio notes into the TranscribeMe Notebook in Evernote. Just click on any of your Notebooks, locate the note you would like transcribed, and drag into the TranscribeMe notebook on the left side of the screen.
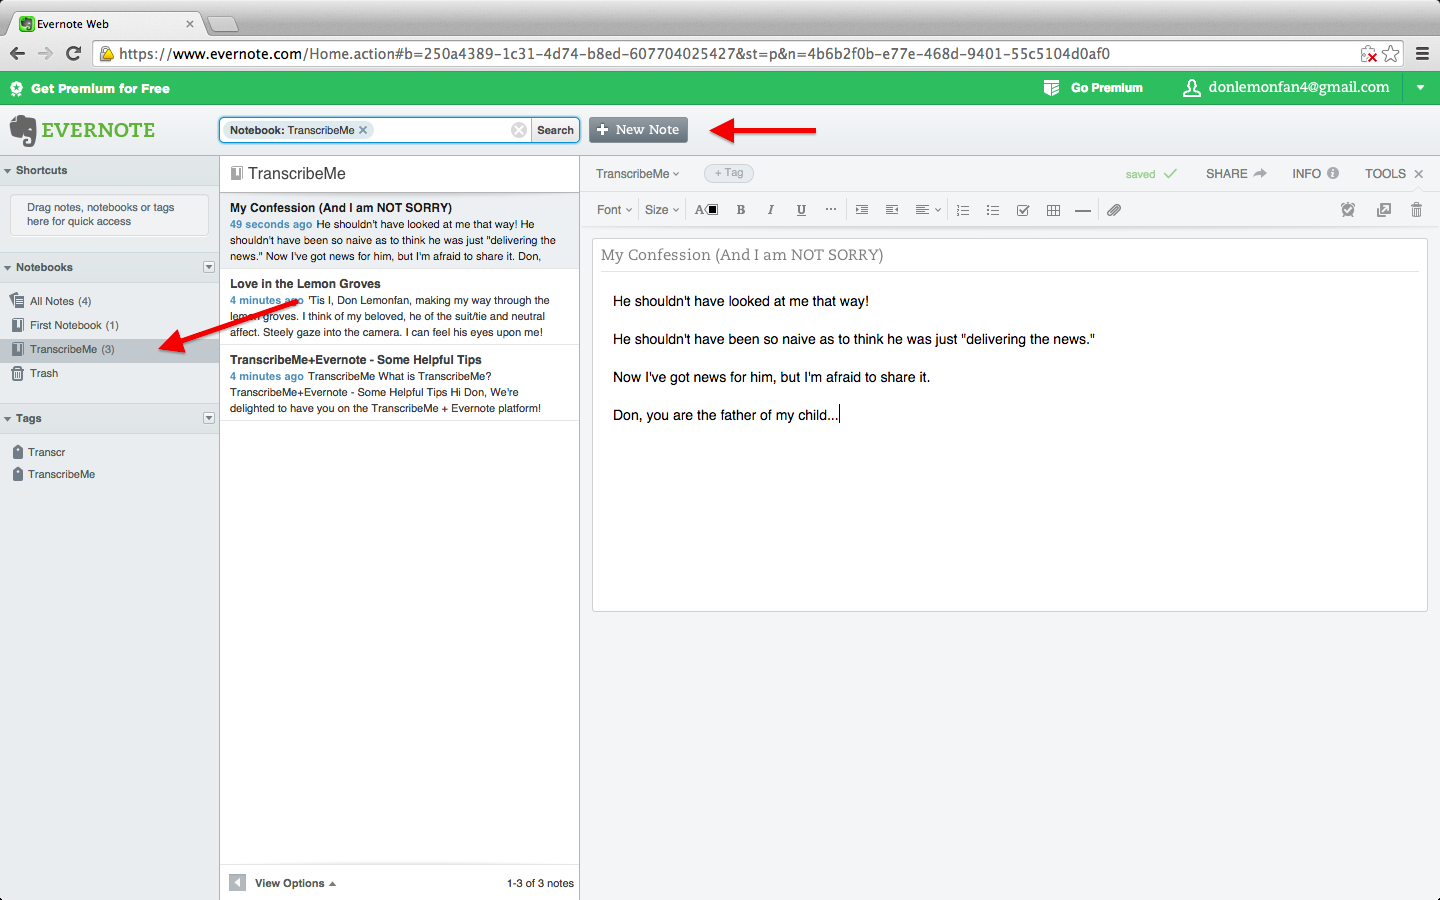
- Creating an audio note directly inside the TranscribeMe Notebook. To do this, first click on the TranscribeMe notebook in the left-most column, and then click the gray icon that reads “+ New Note.”
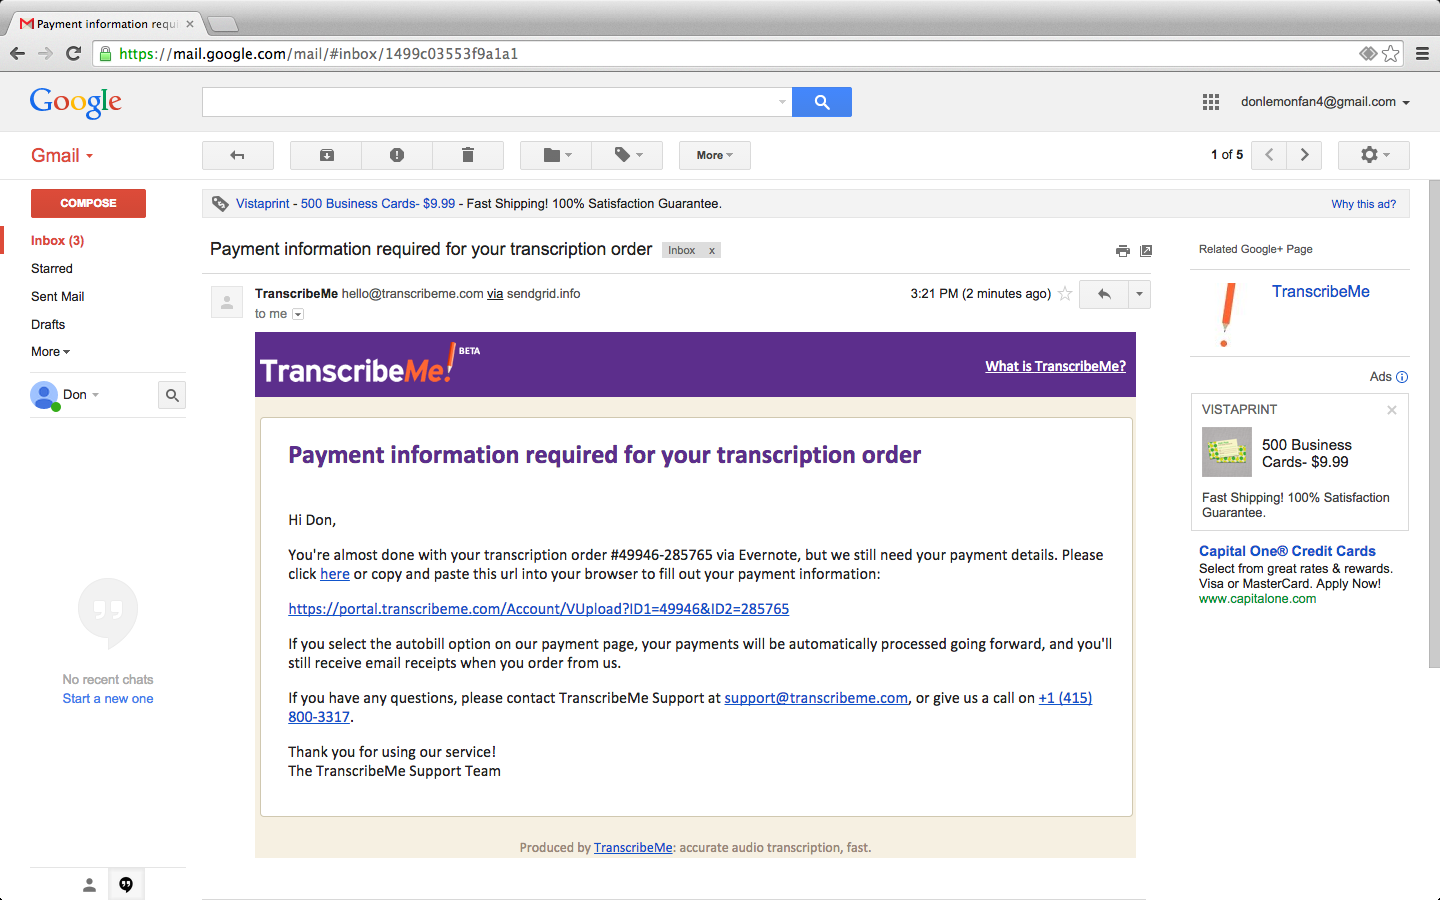
3. After submitting your notes for transcription, you will receive an email from TranscribeMe entitled “Payment information required for your transcription order.” Follow the link in the email to be directed to the Payment Details page.
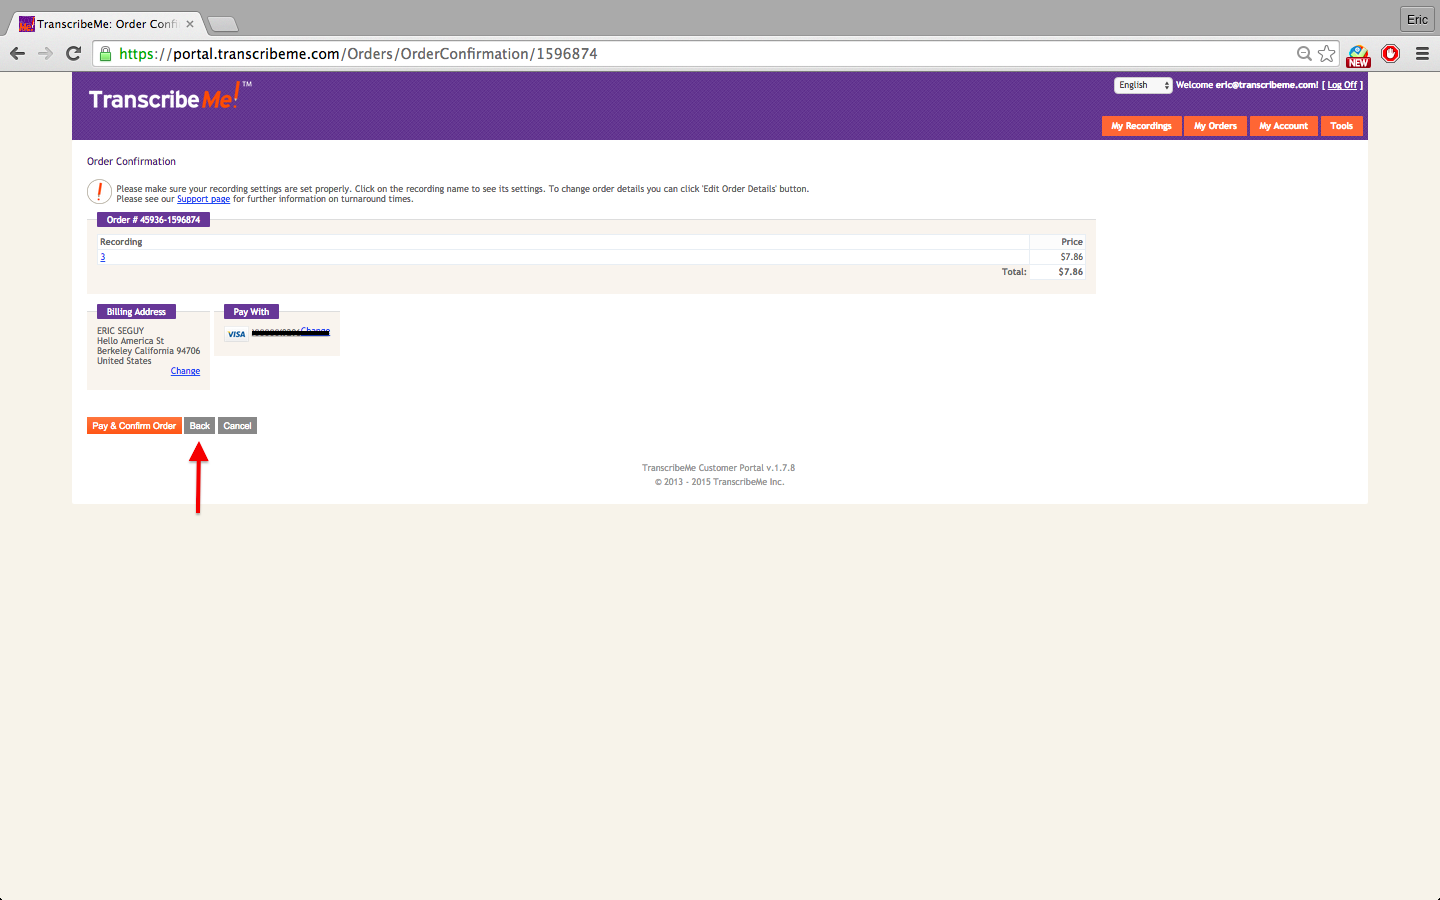
4. By default, your recording will be submitted as a US English recording with 2-3 speakers, while also providing our standard, Clean Verbatim transcription product (to learn more about our transcription styles, click here).
If your requirements do not match this standard offering, please click “Back” before entering your Credit Card Information. If your requirements for your current recording matches our default transcription product, please skip to step 6.
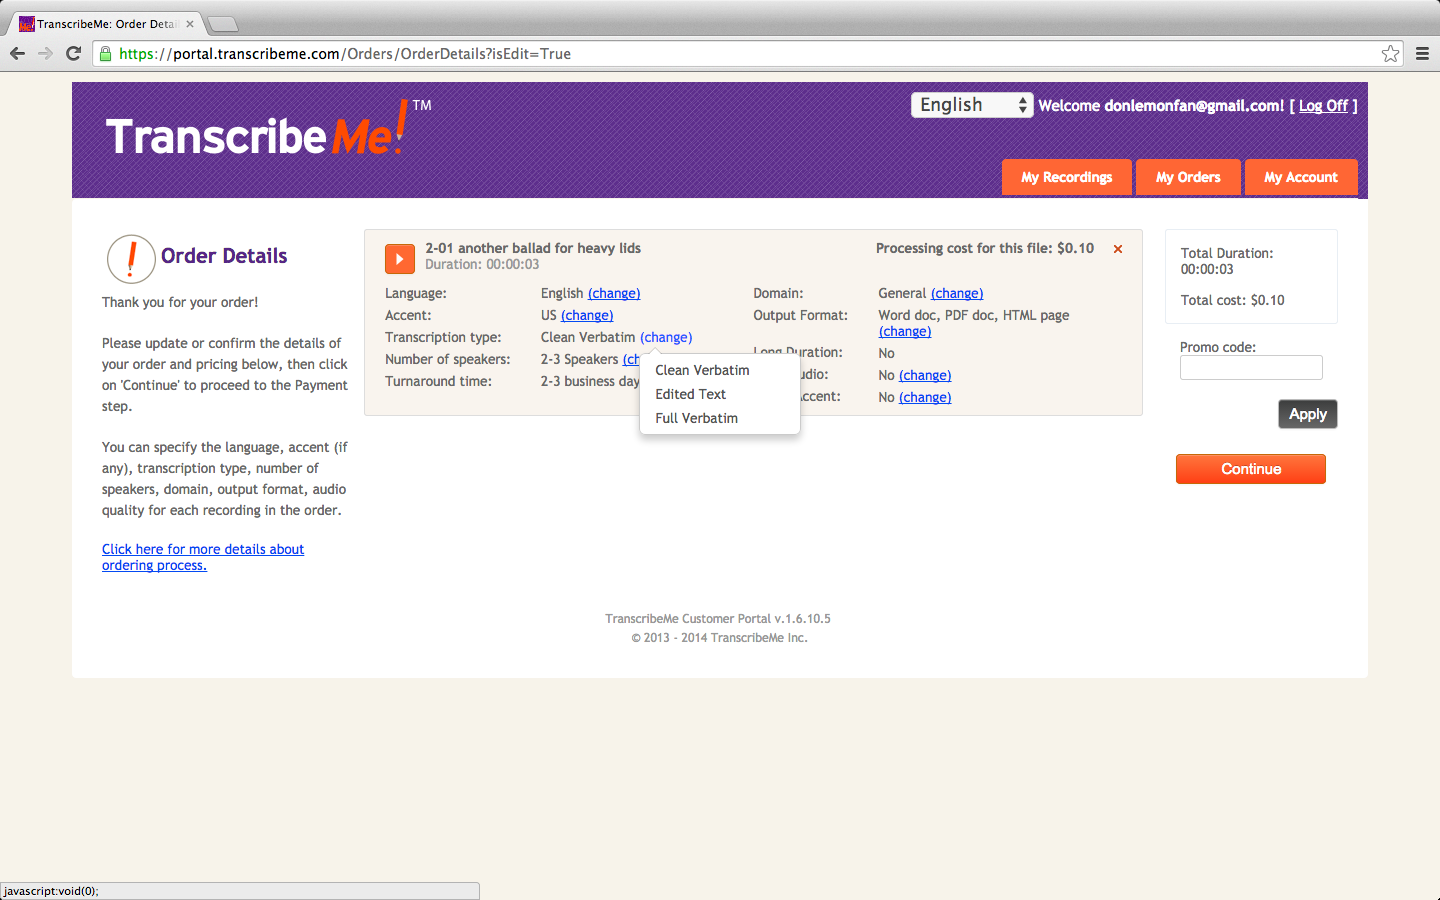
5. On the Order Details page, you can change your order options by clicking on the “change” icons to the right of each category. After you have made the appropriate selections, click “Continue.”
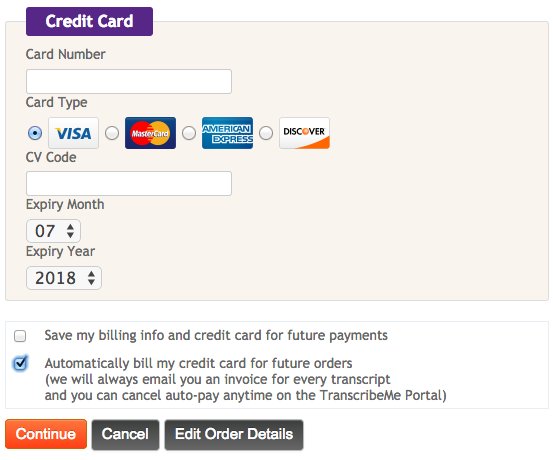
6. This will you back to the Payment Details page where you enter in your Credit Card Information.
If you will always be submitting orders with the same file details (languages, accents, transcription type, number of speakers, etc.) through Evernote, please check the box labeled “Automatically bill my credit card for future orders”. Doing so will automatically submit your files and bill your credit card when you submit through Evernote. We will email you a receipt after each order is submitted.
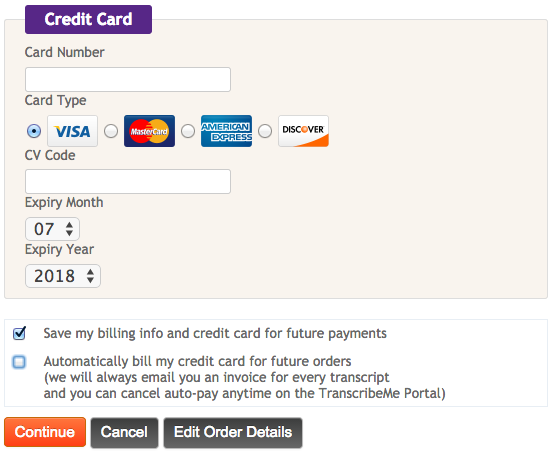
If you intend to submit future orders with different file details (e.g. some files may have different accents), please select “Save my billing info and credit card information for future orders”. Selecting this option will save your credit card information and send you an email notification to confirm your order through the TranscribeMe Customer Portal. On this Order Confirmation Page, you will also have the opportunity to “Edit Order Details”.
NOTE: If you select neither of these checkboxes, you will receive the same “Payment information required for your transcription order” email that was sent for this initial order.
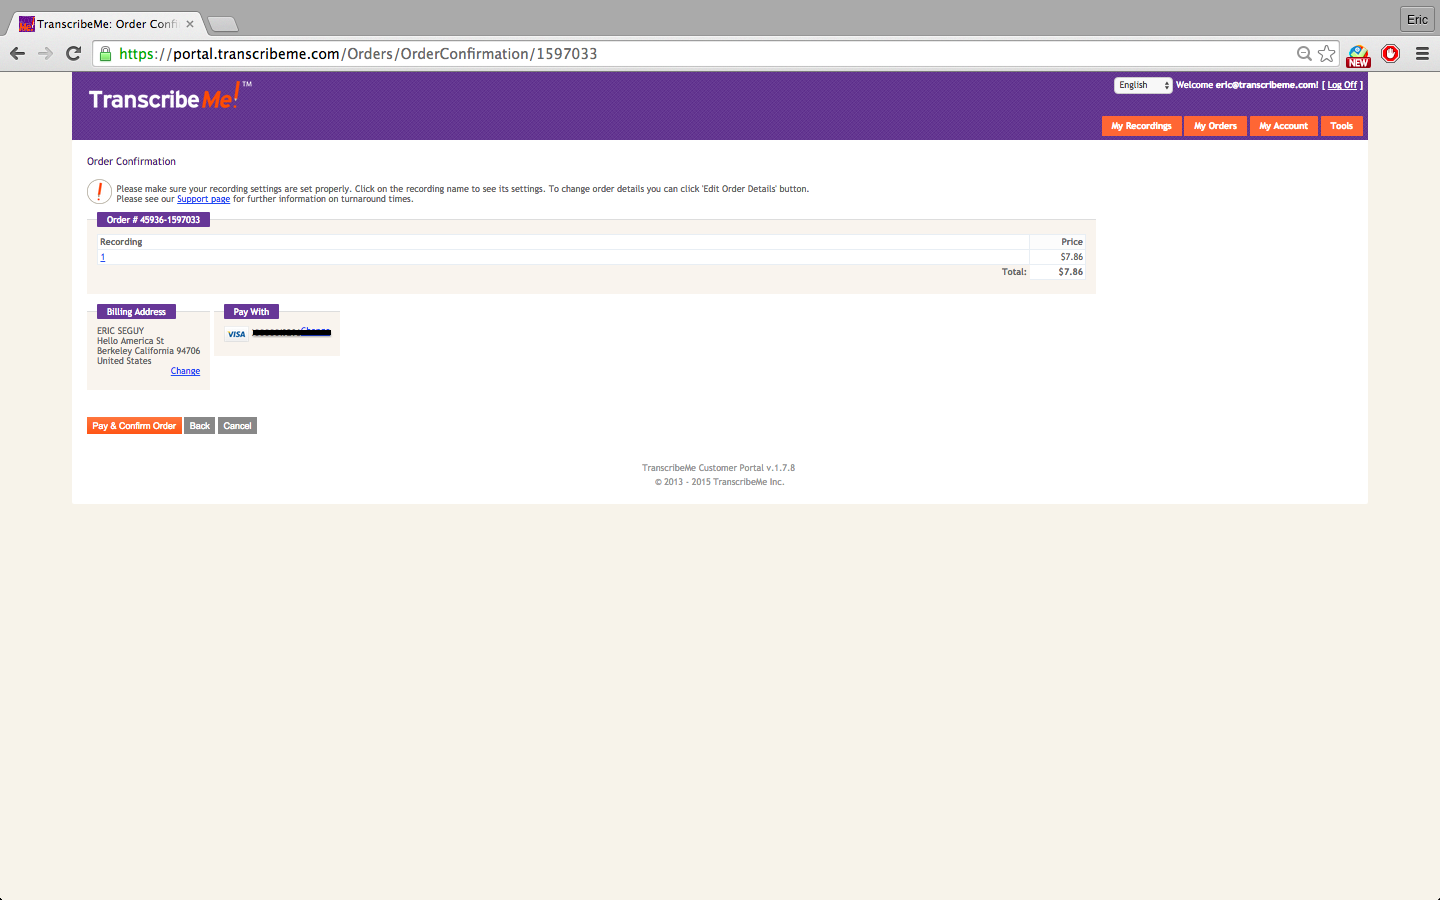
7. This will bring you to our Order Confirmation page where you can confirm all details. Click “Pay & Confirm Order,” and you’re all set!
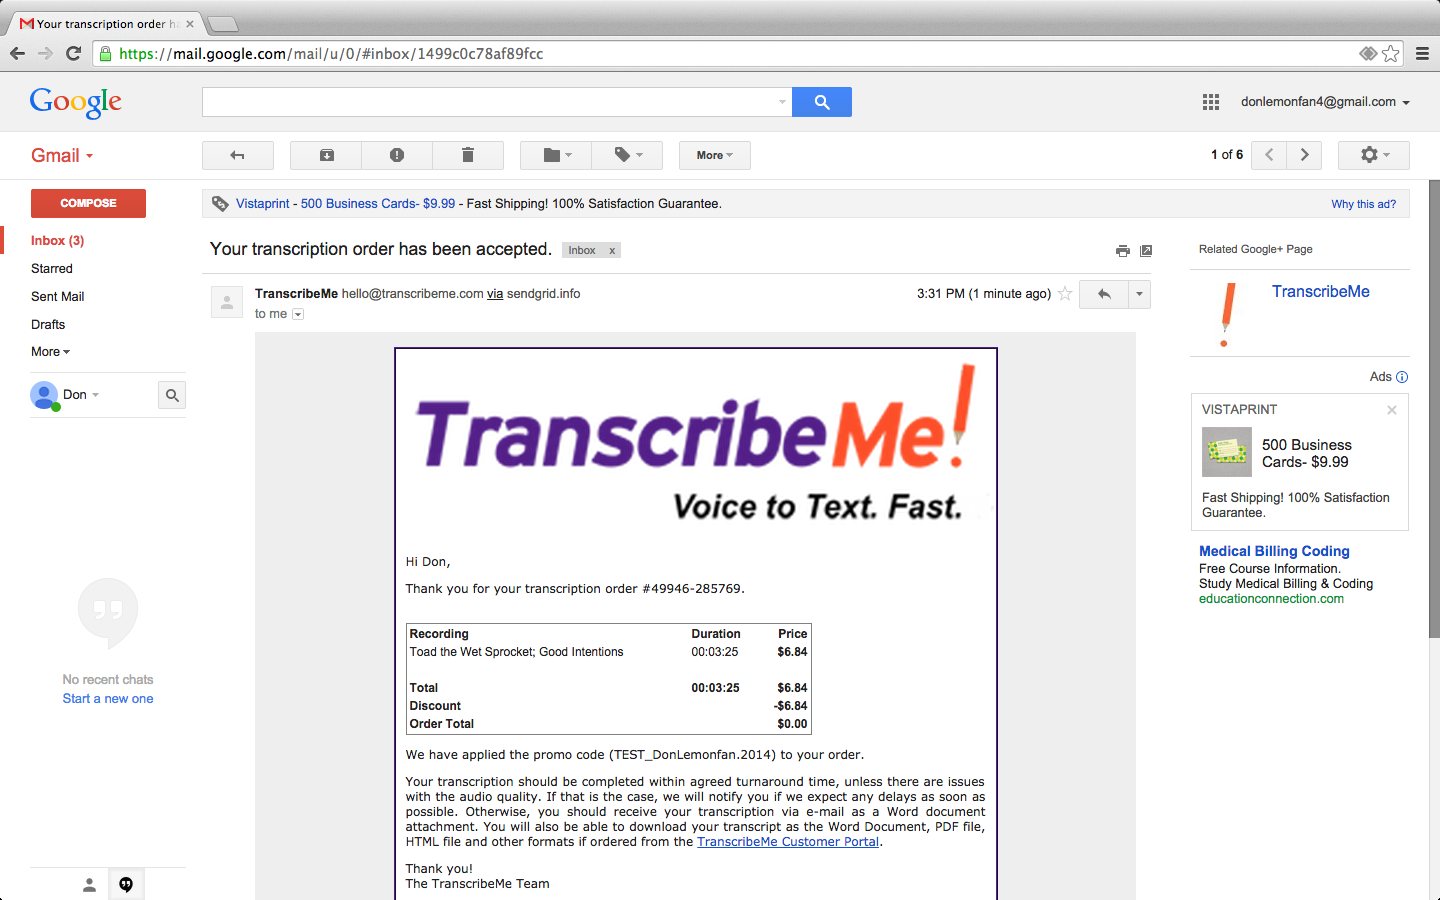
8. You will receive an email receipt from TranscribeMe entitled “Your transcription order has been accepted” that confirms your order is in progress.
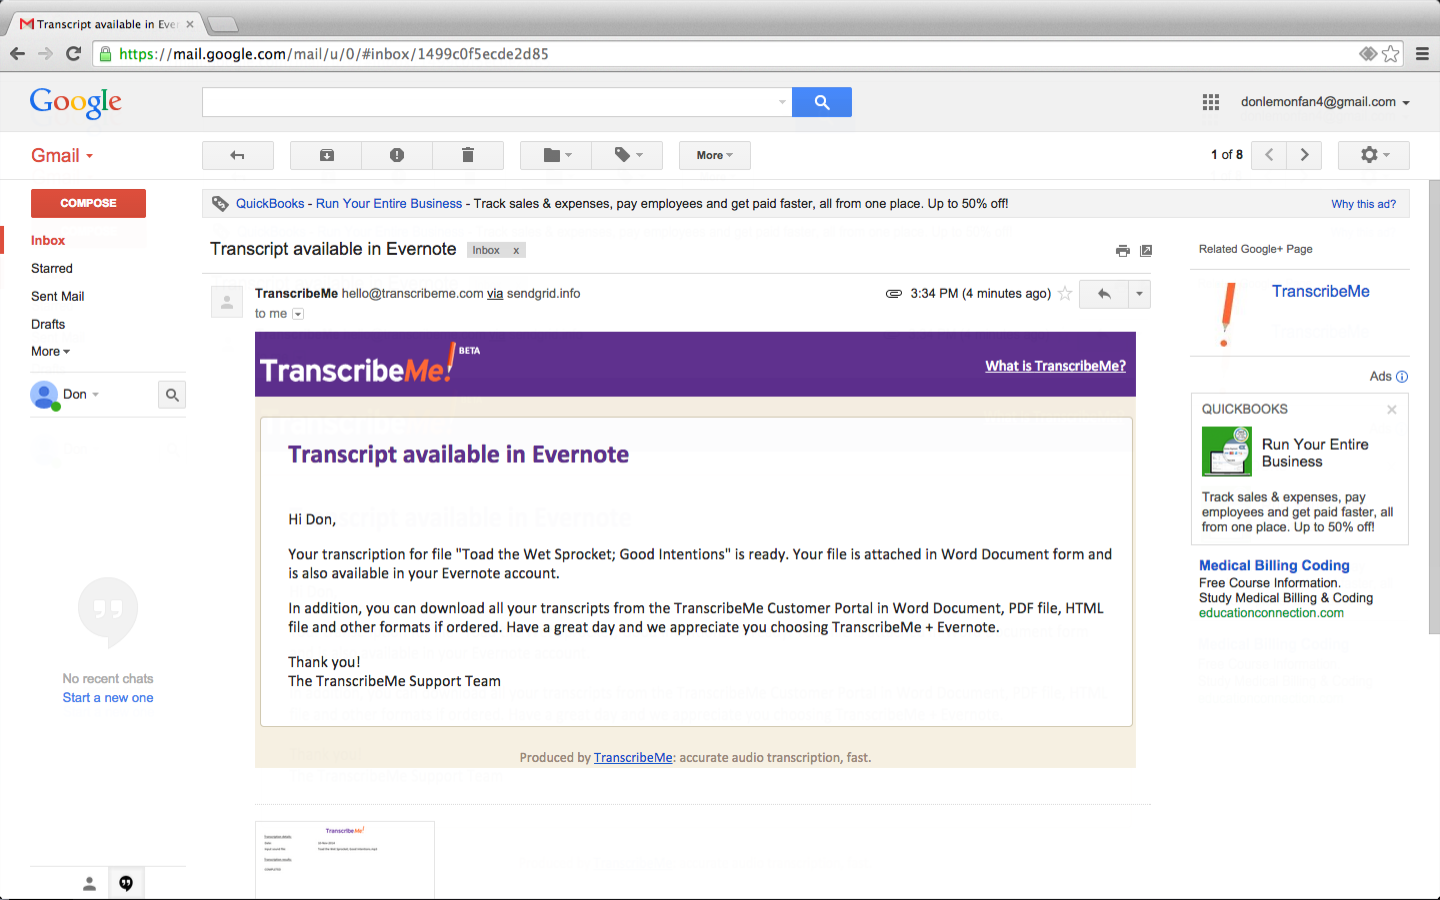
9. When your transcription is completed, you will receive an email from TranscribeMe entitled “Transcript available in Evernote.”
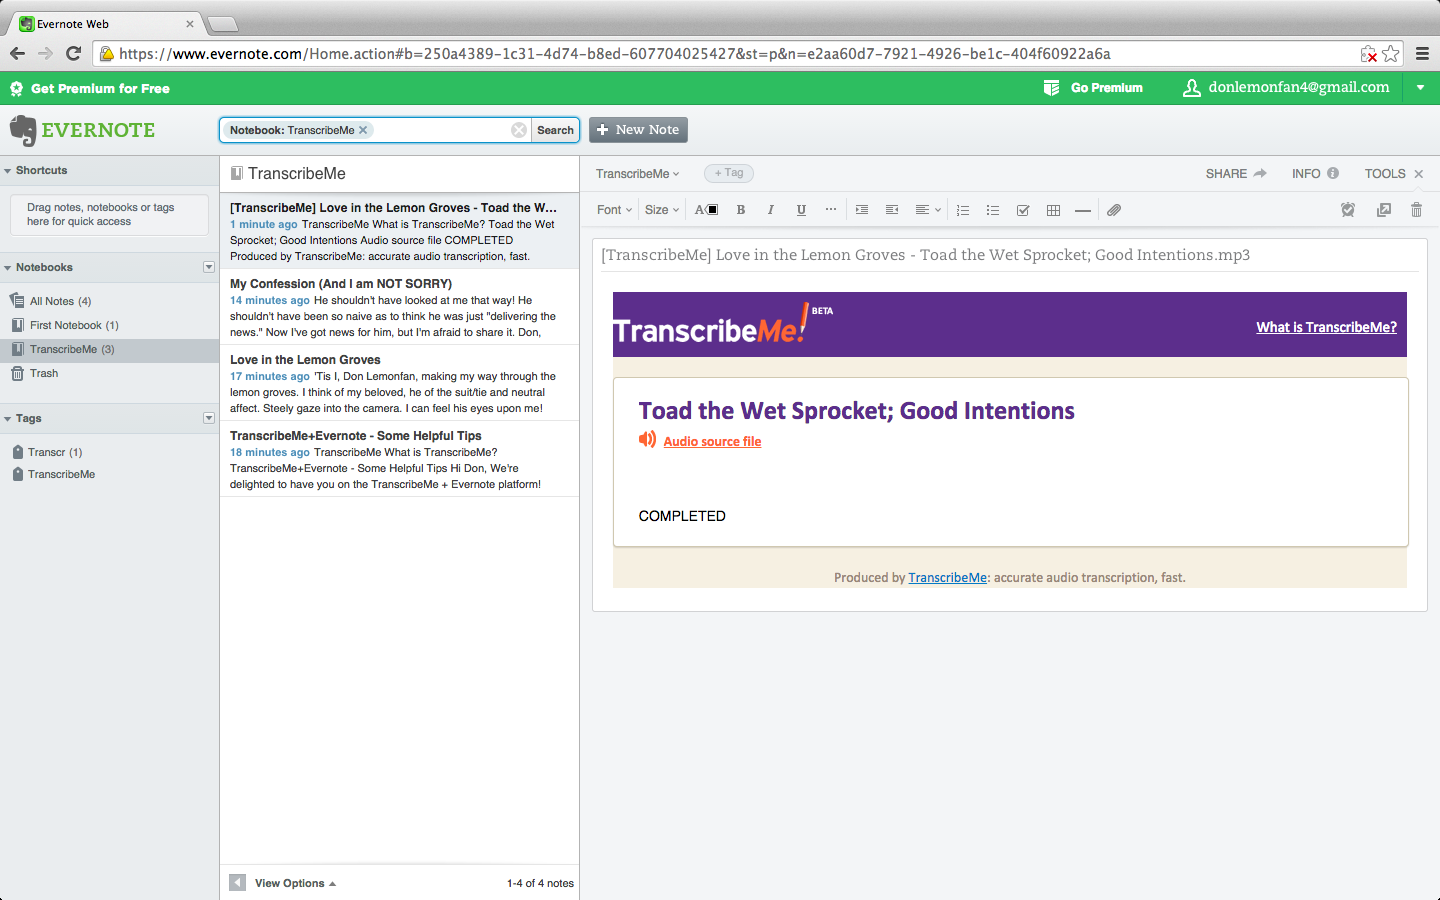
10. When you go back into Evernote, select the Notebook you used to submit your order. Your transcript will appear as a new note.
We hope this walkthrough has been informative and helpful to you. If you have any feedback, or require further assistance, please don’t hesitate to contact us at support@transcribeme.com. Thanks for reading!
